79. RPI powerbank
For my next project, I decided to utilize the raspberry pi as a new feature for the homemade power bank. Not only can I use it to charge my devices, but I can also use the built-in raspberry pi as a portable PC. In other words, If I were to find various peripherals, such as a mouse, or a monitor, I can hook this Pi power bank up and use it as a normal desktop. Since this is a "mobile" project, I decided to add 2 external devices that use the GPIO pins: The LCD, and the Sensehat.
 |
| <Entire unit> |
The Sensehat will allow the Raspberry pi to sense the environment using onboard sensors, and display colors with the 8x8 led matrix. The board includes an Accelerometer/Gyro/Magnetometer sensor, Pressure sensor, humidity, and temperature sensor. With these sensors and an LED matrix, you can use it to get crude readings through the Matrix whilst on the go. Not only will it be more visually appealing, but while it's powered on, the Sensehat will always get readings on the boot.
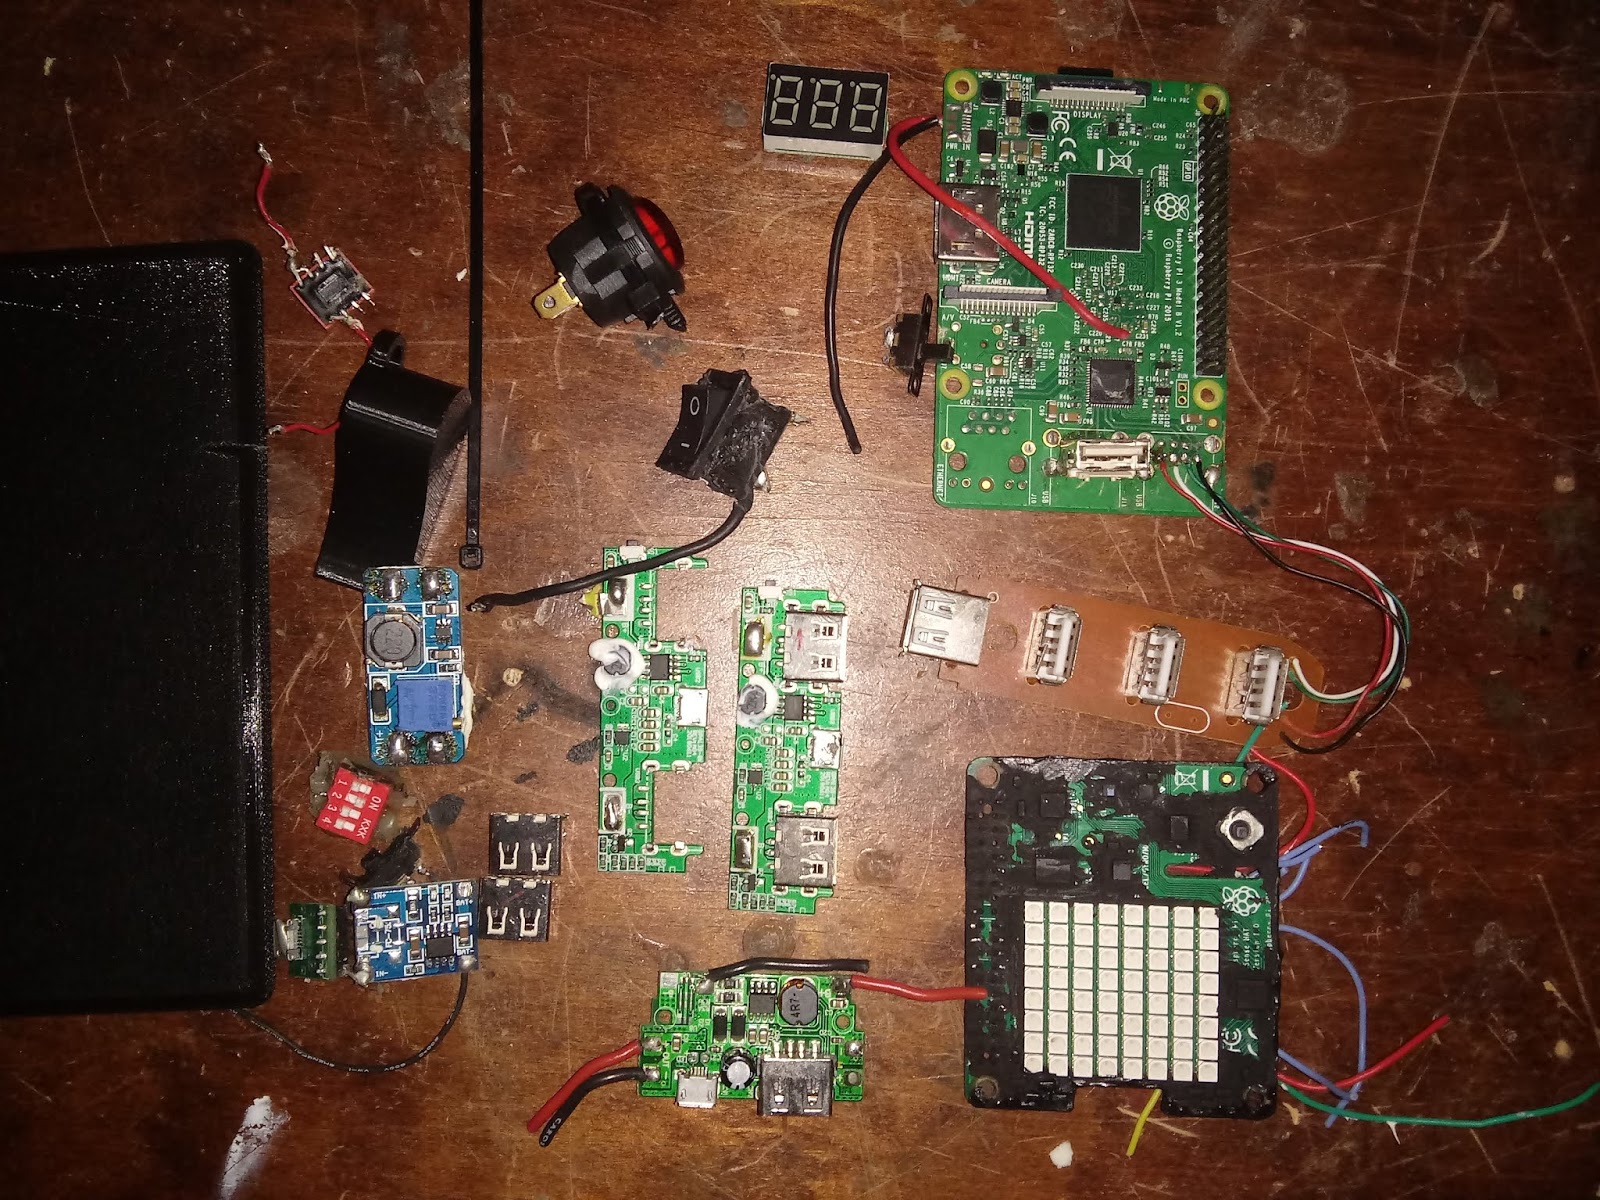 |
| <Parts> |
To assemble this Raspberry pi power bank, you will need a couple of li-ion batteries in parallel. This method ensures that the power supplied will have more capacity. You will also need a Raspberry pi, a Sensehat board, a li-ion charger/voltage booster, switches, an SD card(with Raspian burned in), and the whole container.
To start with, solder the connections of the Li-ion charger to the battery cells, and make sure that it works. Once you determine the outputs, solder the Raspberry Pi, as well as the switch between the connections. You will also need to install the Sensehat to the Pi through the adaptor, or soldering it directly.
 |
| <Assembly> |
You will also need to load the SD card into the Pi to ensure proper operation. Once it loads on the first bootup, try to set Raspian up by setting the time and date according to your location, and perform a full update. Doing a full update like that ensures that your software and the operating system are up to date, and so the programs will run smoothly.
Once everything still works after the updates, you can experiment with the Sensehat through the Sensehat library, such as performing a temperature reading and letting it print out the results through the serial console. If the Sensehat still doesn't work, you will need to double-check the wiring or check if the Sensehat software was installed. Remember that during bootup, the LED matrix turns on, then off, showing that the Sensehat works as expected.
 |
| <Battery pack> |
To make the container, I will need to 3d print it according to its size, and the lid to finish it up. The dimensions are crucial as they will fit all the parts in tightly, so it will not rattle around when it is in motion.
Once everything is assembled, double-check to see if the connections are secured and if you are ready to operate the device!


Comments