63. Arduino obstacle avoiding robot
For this project, we will be utilizing a new sensor for detecting an obstacle at a distance. The way this robot operates is that the robot keeps going forward, but once the ultrasonic sensor detects an obstacle, the sensor sends out the distance data to the Arduino to make the robot stop. Once it does, the robot backs up, and the servo turns the ultrasonic sensor on both sides so that the robot makes sure that there are no other obstacles. Once the robot finds a clear path, it turns to a clear path, and the cycle continues.
What makes this robot special is the use of the ultrasonic sensor, but also the fact that it uses the servo to turn the sensor-almost like turning the head.
 |
| <Finished robot> |
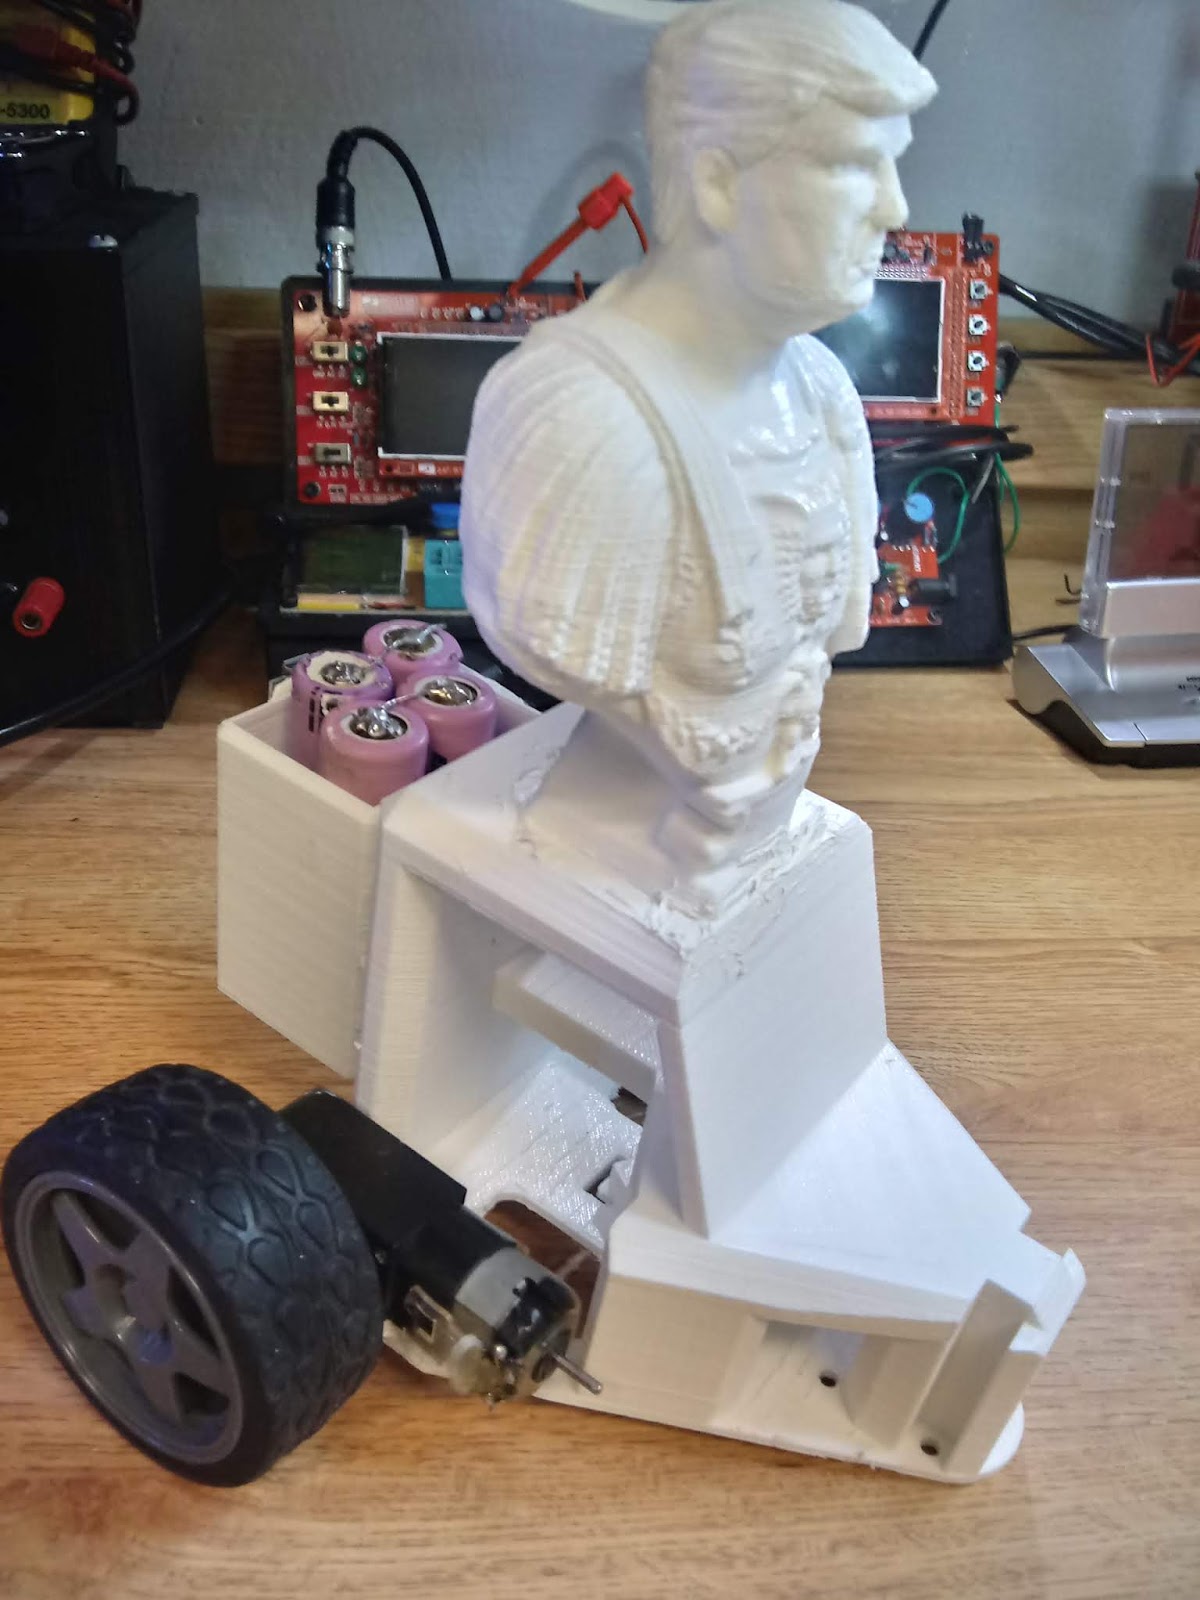
To get started with the robot build, you will need a robot chassis, which we can use the same chassis from project 60. Instead of using a motor shield, we will be using the l9110 motor driver, which drives the motor using the H-bridge on a chip configuration. We will also need to have a servo to turn the sensor, and the sensor itself. The power supply will be like from project 60, which uses Li-ion batteries as the starting power source, a tp4056 module for charging the batteries, and 2 boost converters for powering up the Arduino and the motor driver.
 |
| <Various parts> |
At this point, you will need to glue the battery holder on the back of the robot chassis and add the Li-ion batteries in. Once so, you can wire up the tp4056/boost modules, and so you will have your own power supply for your robot.
 |
| <Chassis> |
With the power supply in place, you can wire up the main components to the Arduino. The motor driver's inputs and the mini servo have to be connected to the digital pins since the motors will be controlled digitally. The ultrasonic sensor has to be connected to the analog pins since the data from the sensor will have more than just binary outputs.
You will also need to make modifications to the chassis, in which you will need to carve out a hole that fits the servo just right. Once done, you will need to mount the sensor to the mini servo using 2 zip ties. This will ensure that the sensor stays secure even when it's on the move, or when it's going to be turned.
 |
| <Assembly> |
Finally, you will need to write out the code for the robot. First, you will need to initialize the pins used, such as from the motor drive. With the motor pins initialized in the code, write various digital write commands, and declare them as a function.
With the sensor and servo in place, it's important to know how long the distance is going to be before it gets triggered. Once it does, add the code so that once the sensor detects something, the servo spins, and the motor moves.


Comments